

Locations are the foundation of SocialBizHub. Every review page, website, integration, QR poster, and widget belongs to a location, so this is the first thing you set up. You can create as many locations as your plan allows.
Step 1 — Open Locations
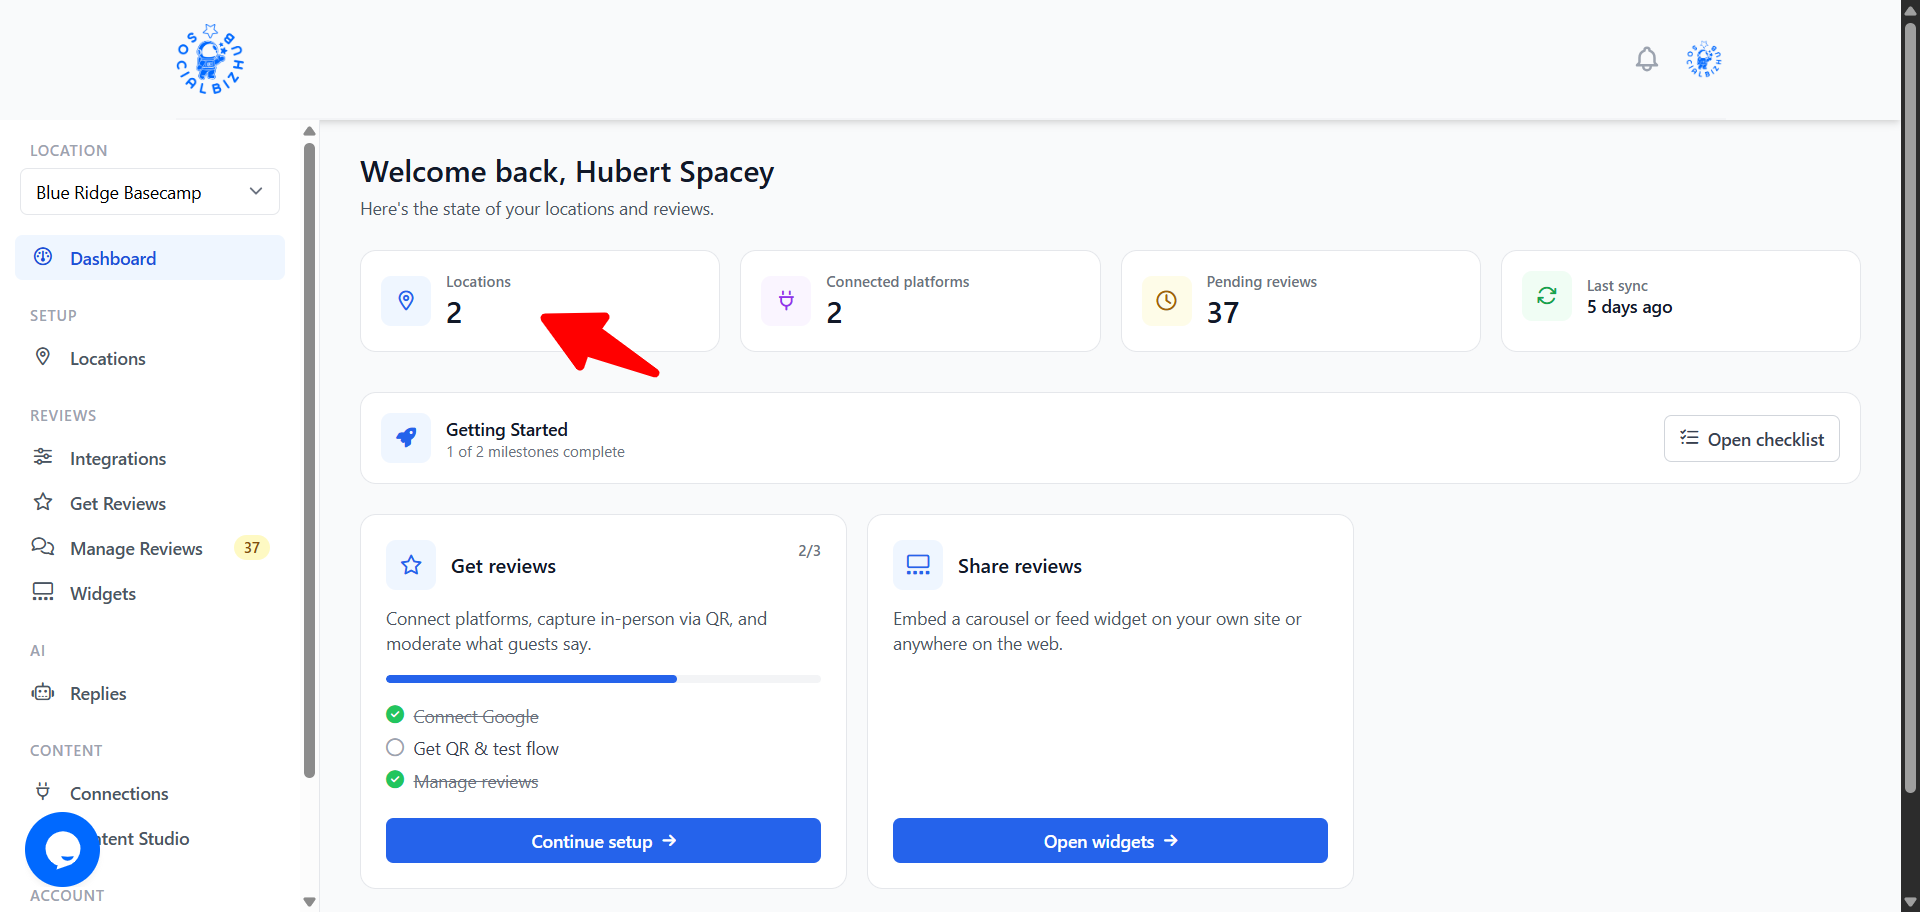
From your Dashboard, click Locations.
Step 2 — Add a new location
On the Your Locations page, click Add New Location.
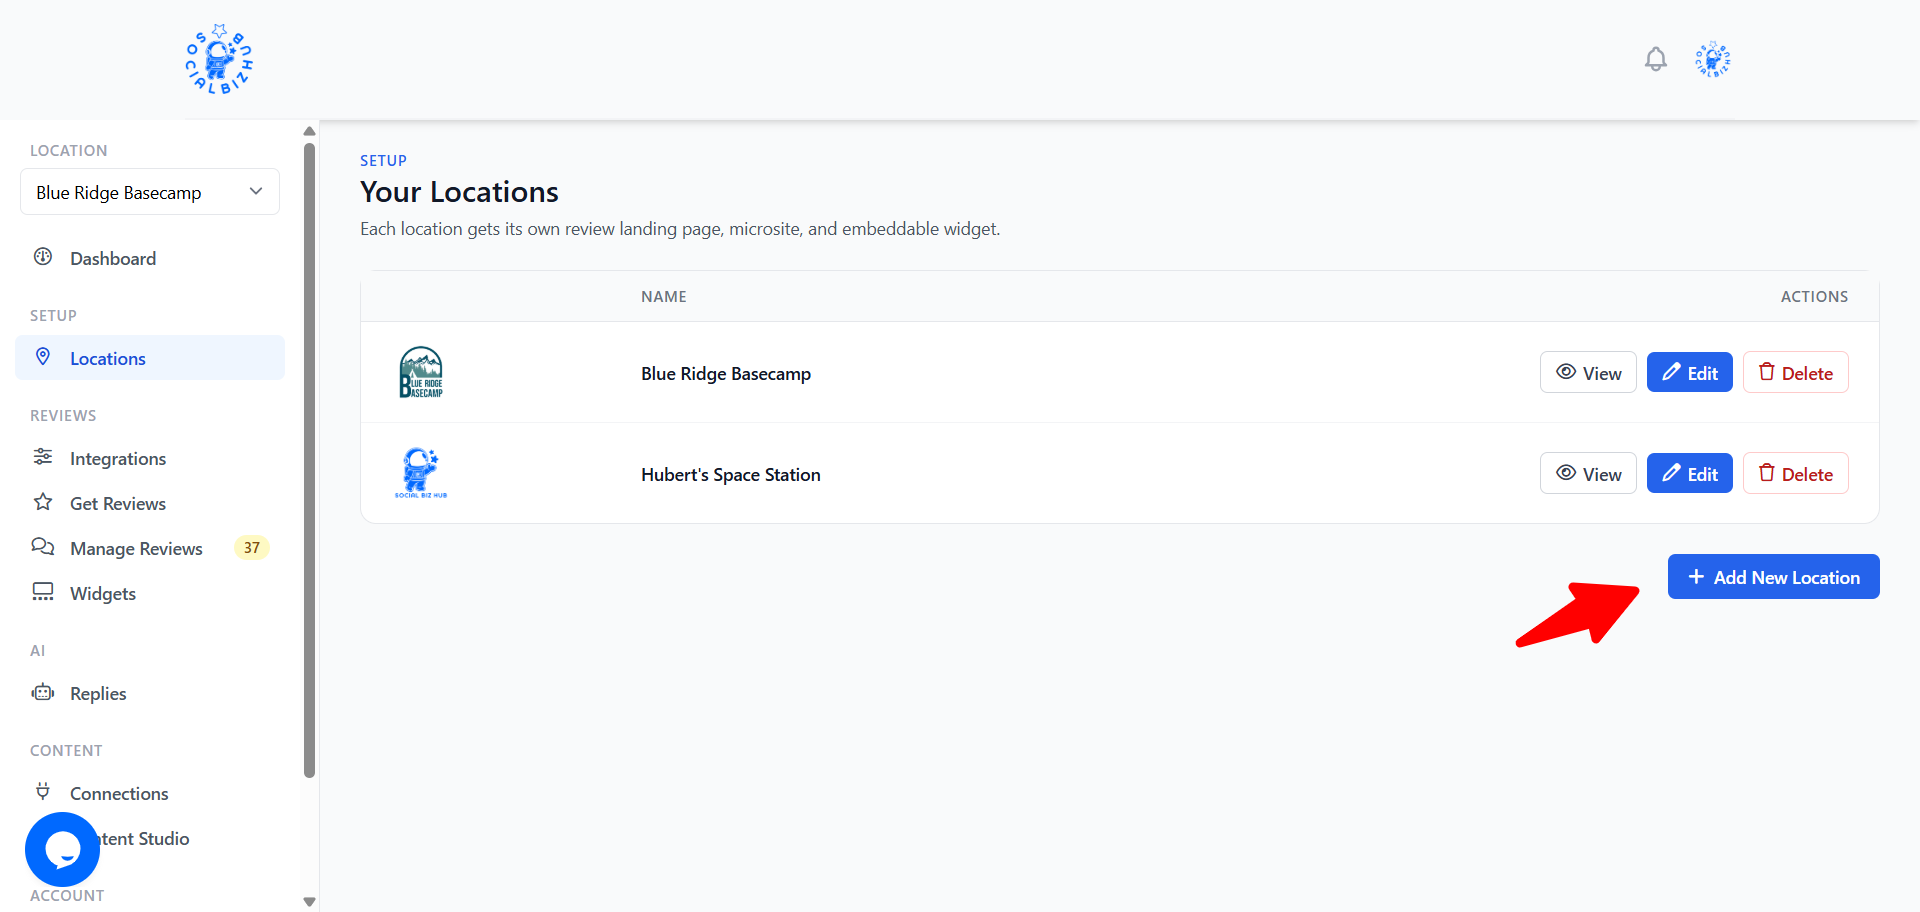
If you've reached your plan's location limit, the Add New Location button is hidden and you'll see a notice with a link to upgrade your plan.
Step 3 — Fill in the details
- Location Name (required) — the public name of your business or property.
- Location Type (optional) — choose the category that best fits your business from the dropdown. Types are organized into groups (Outdoor & Lodging, Food & Drink, Retail & Personal Care, Local Services, and more) so you can pick the closest fit. This helps SocialBizHub tailor AI‑generated content (social posts, blog drafts, review replies, and website insights) to your kind of business. You can change it later.
- Business description (optional) — a sentence or two about what you offer, who you serve, and your vibe. AI uses this to write in your voice and stay accurate to your business.
- Website URL (optional) — your live site. Used for website health audits and, going forward, to help personalize AI content.
- Logo (optional) — upload an image and crop it. If you skip this, a default placeholder is used.
- Click Create Location.
When you create a location, SocialBizHub automatically sets up a matching one‑page website for it (with default content you can customize later) and a unique review landing page.
Step 4 — View, edit, or delete
Back on Your Locations, every location has three actions:
- View — see the location's details, including its website and review landing‑page links (ready to copy and share).
- Edit — update the name, type, or logo, and find the review landing‑page link.
- Delete — permanently remove the location.
Renaming a location changes its web address. Because the website and review landing page use a slug based on the name, editing the name updates those URLs (and any QR codes you've already printed will need to be regenerated). You'll be asked to confirm before saving a name change.
Frequently asked questions
How many locations can I create? It depends on your plan. When you reach the limit, the Add New Location button is replaced by an upgrade prompt. See Plans & Billing to compare limits.
Do I have to choose a Location Type? No — it's optional. If you skip it, AI uses a general small‑business voice. Setting it (and adding a short Business description) makes AI‑generated content — social posts, blog drafts, review replies, and website insights — sound much more like your specific business.
What happens when I delete a location? The location and its associated website settings are removed. Reviews collected for that location are also removed. This can't be undone.